Wednesday, May 29, 2013

Mango Rice Noodles


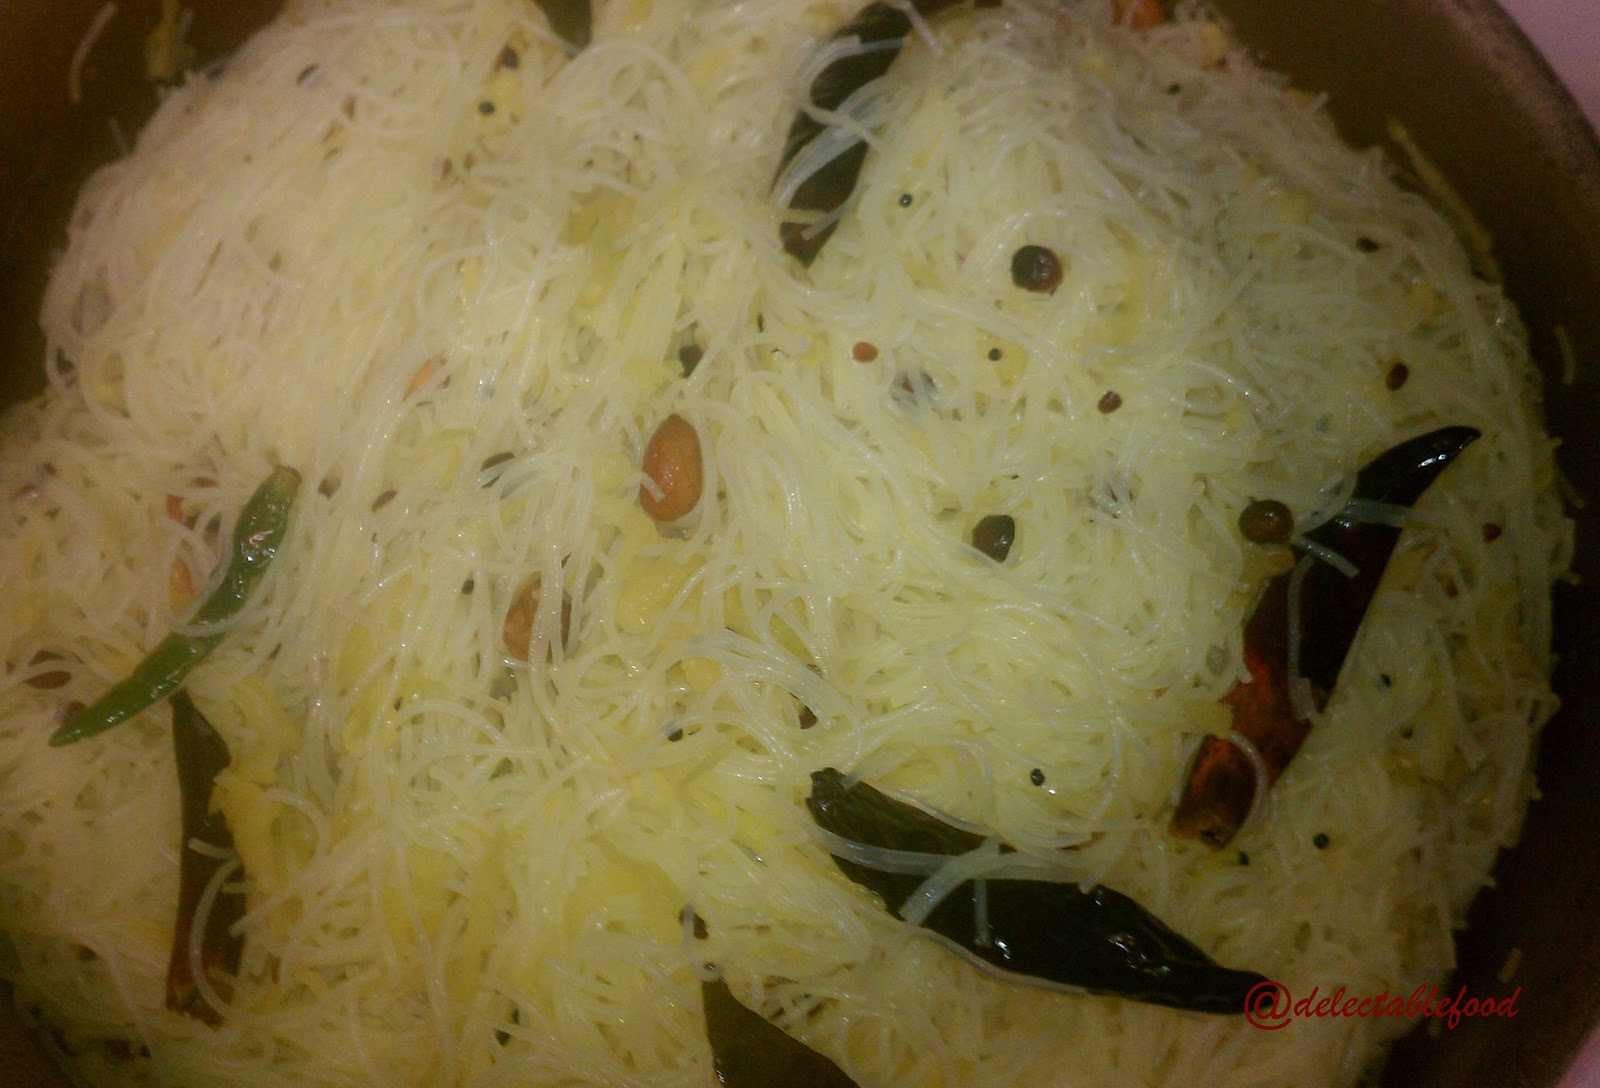
Rice Noodles are noodles made from rice.Their main ingredient is rice ,other ingredient  they have is cornstarch which helps in giving the noodles a chewy and gelatinous texture.Rice noodles with Mango is a kind of pulihora which is tasty to eat and easily digestable .


Ingredients:

Rice noodles            1/2 pack
Raw Mango           1 whole ,grated
Water                     to boil
Salt                         per taste
tumeric  powder      1 tsp

For tempering:

Chana dal               1 tbsp (soaked in water)
Red chillies             3-5
Mustard seeds         1 tsp
Curry leaves            1 sprig
Peanuts                   half hand full

Method:


Bring Water in a large pot with salt added ,to boil.Drop in the noodles .Cook for  one minute not more than two.


As soon as the water comes back to boil ,remove the noodles.Check for doneness-they should be soft and pliant without being mushy.


Place a wide pan on stove ,once it turns hot add oil .Then add mustard seeds ,soaked chana dal  ,red chillies,curry leaves ,peanuts and fry for few minutes .Now add the grated mango and mix well and cook the mango till it becomes soft and is done.Add turmeric powder and mix well till the raw aroma of turmeric goes .Now add in the boiled noodles and mix well until the mixture gets coated and mixed up altogether.Fry for a while and remove .Check for salt and add if needed.


Note:

  • If you attempt to boil the noodles to the proper texture,it is likely that you may overcook,as rice noodles can go from perfection to mushy in a minute.So drain the boiled noodles under cool water to remove the extra starch and keeps the noodles from being gummy.
  • If the raw mango is not sour enough you can even add a little bit of lemon juice to get the tangy taste.


Thursday, May 23, 2013

Grilled Chicken Salad

Grilled Chicken is a healthy alternative of cooking Chicken without oil.When you top this with green leafy vegetables and fruits it becomes more healthier.My daughter likes just the Chicken minus the leaves.....:)
Having this salad once in a while is worth trying it out.


Ingredients:

Grilled Chicken:

Chicken Breast            1 halved
Onion Powder             2 tbsp
Garlic Powder              1 tbsp
Salt                               per taste

Salad:

Organic Baby Spinach      1 box
Lettuce                             1
Green Apple                     1 cubed
Italian dressing                  per taste

Method:
 Wash Chicken breast well and pat it dry.Place the breast in a ziploc bag and seal the bag halfway through.Using  a mallet or a meat Pounder ,Pound the breast so that it gets a bit flat evenly all over.


Remove the chicken breast and place it on a plate.In a small bowl,mix all the powders very well.


Slit the chicken breast using a knife and  rub the powdered mixture onto the breast and also into the slits .


Let it rest aside for 5 to 10 mins.In the meanwhile Preheat indoor grill at 350 degrees for 5 min.


when the grill is heated,spray non stick Olive oil onto the plates .Place the Chicken Breast and grill for 10 to 12 min .


Remove the Grilled chicken and transfer it onto a cutting board and cut into small bite sized cubes.


Wash  the baby spinach leaves and place them in a serving bowl add some freshly chopped lettuce ,add grilled chicken cubes,some green apple cubes and toss well .Drizzle up with  Italian dressing mix well and enjoy.

Note:
  • If you do not have an indoor grill you can spray a non stick griddle with oil and cook the chicken breast till the pink color of the meat is all gone and it turns white inside.
  • An indication to check if the breast is cooked well ,the water running out from the meat should be clear.

Wednesday, May 15, 2013

Garelu (Vada)

Garelu or vada is a deep fried lentil based Doughnut or a regular deep fried  dal mixture.This is  basically a typical south Indian breakfast.Whenever I make these at home we consume them just like that ,cause of  their crispyness .You can serve them with any chutney of your choice.The best part of Vadas is there is no need of fermenting so we can prepare them the same day........except for the oil used to fry them.....:(


Ingredients:

Urad dal                   1 cup
Water                        To soak
Onion                        1small   finely chopped
Curry leaves              1 sprig  roughly chopped
Coriander Leaves      few finely chopped
Green chillies             2 -3  finely chopped(optional)


Method:

Soak Urad dal in enough water for 3 to 4 hours or over night.Grind the dal with salt as per  taste into a fine paste by adding very little water at a time.The paste should not be very watery.


Heat oil in a kadai.As the oil gets hot on medium heat,at this point you can use the paste as itself or add finely chopped onions,curry leaves,coriander leaves  and green chillies(optinal)  and mix well .Now take a small ball of the paste in the palm of  your hands and flatten it evenly and make a hole in the centre  with your finger and drop it slowly into oil and  fry it  on medium heat.


Initially the vadas reach the bottom of the pan but rise up to the surface in few minutes.Fry Until the vadas turn out Golden brown and crisp.Remove from the oil and place them on a paper towel to remove excess oil.Serve them as it is or with any chutney of your choice or Tomato Ketchup.


Note:

  • When you mix the paste with onions,curry leaves and coriander it is better to use a fork and mix well for airation in the paste,so that the vadas turn out crisp on the outside and soft on the inside.
  • The oil should be perfectly hot and ready.We can check this by adding a small ball of the paste into the oil and see that it rises to the surface.
  • Do not use lot of water  to make the paste as the vada will not be able to regain its shape when dropped in the oil.
  • You can also add finely chopped Ginger in the paste .I generally don't prefer for my kids sake....:)


Friday, May 10, 2013

HomeMade White Bread

This is My first experience on baking bread .........it turned out really well ...:)I however felt that it was little more dense.I prepared this bread using My Kitchen aid Professional stand Mixer.


There were certain flaws in the appearance though but i guess for a first time it is perfect.


I was so carried away by preparing this bread that i forgot to take step by step pictures.Hope to click them next time.....:)

Ingredients:

1/4 cup                    Low fat milk
1 tsp                        Active dry yeast
3/4 cup                    Warm water
21/2-31/2 cups        Bread Flour
11/2 tbsp                 Sugar
1 tsp                        Salt
1 1/2 tbsp                Butter or margarine

Method:


Place Milk,Sugar,salt and butter in a small saucepan  on low heat.Heat until the butter melts and sugar dissolves.Cool this to luke warm.
   Dissolve yeast in warm water.Add lukewarm milk mixture and yeast mixture and 2 cups of bread flour in mixer bowl.Attach Bowl and spiral dough hook to the mixer.Turn the mixer to speed 2 and mix for about 1 min.
 Continuing on Speed 2 ,add remaining flour,1/4 c at a time and mix about 1 1/2 minutes,or until the dough starts to clean sides of the bowl.Knead on Speed 2 about 2 minutes longer,or until dough is smooth  and elastic.At this stage dough will be slightly sticky to touch.
   Place the dough in a greased bowl ,and turn the dough to grease the top.Cover it and let it rise in a warm place for about an hour or until  double in volume.
   Punch the dough down.On a lightly floured surface,roll the dough into a rectangle.This rolling will smooth out the dough and remove gas bubbles.
   Starting at the shorter end ,roll the dough tightly.Pinch the dough to seal seam,and turn under.Place seam side down in the loaf pan.let it rise for another hour or until double in volume.
  Pre heat oven to 400 degrees F.Bake the dough at 400 degree F for 30 min.,or until golden brown crust.Remove from the loaf pan and cool on wire racks.


 Note:

  • While the bread is cooling ,brush the top with little melted butter for extra flavor and taste.